2026-08-04
Blowing the dust off / reapplying thermal paste.
NOTE: I took these pictures using my GE A830 digital camera. I got actually got this camera as a part of a promotion for buying the processor in this build back in 2008!
I've been thinking for the past few days that perhaps I should find a good use for my old Intel DG35EC motherboard I bought new back in 2008. I bought this motherboard in 2008 from the now defunct tigerdirect.com website. Back then, Tiger Direct was one of the main online sellers of computer hardware for building custom machines. Sadly it was acquired by a company called Insight in 2019 and is no more.
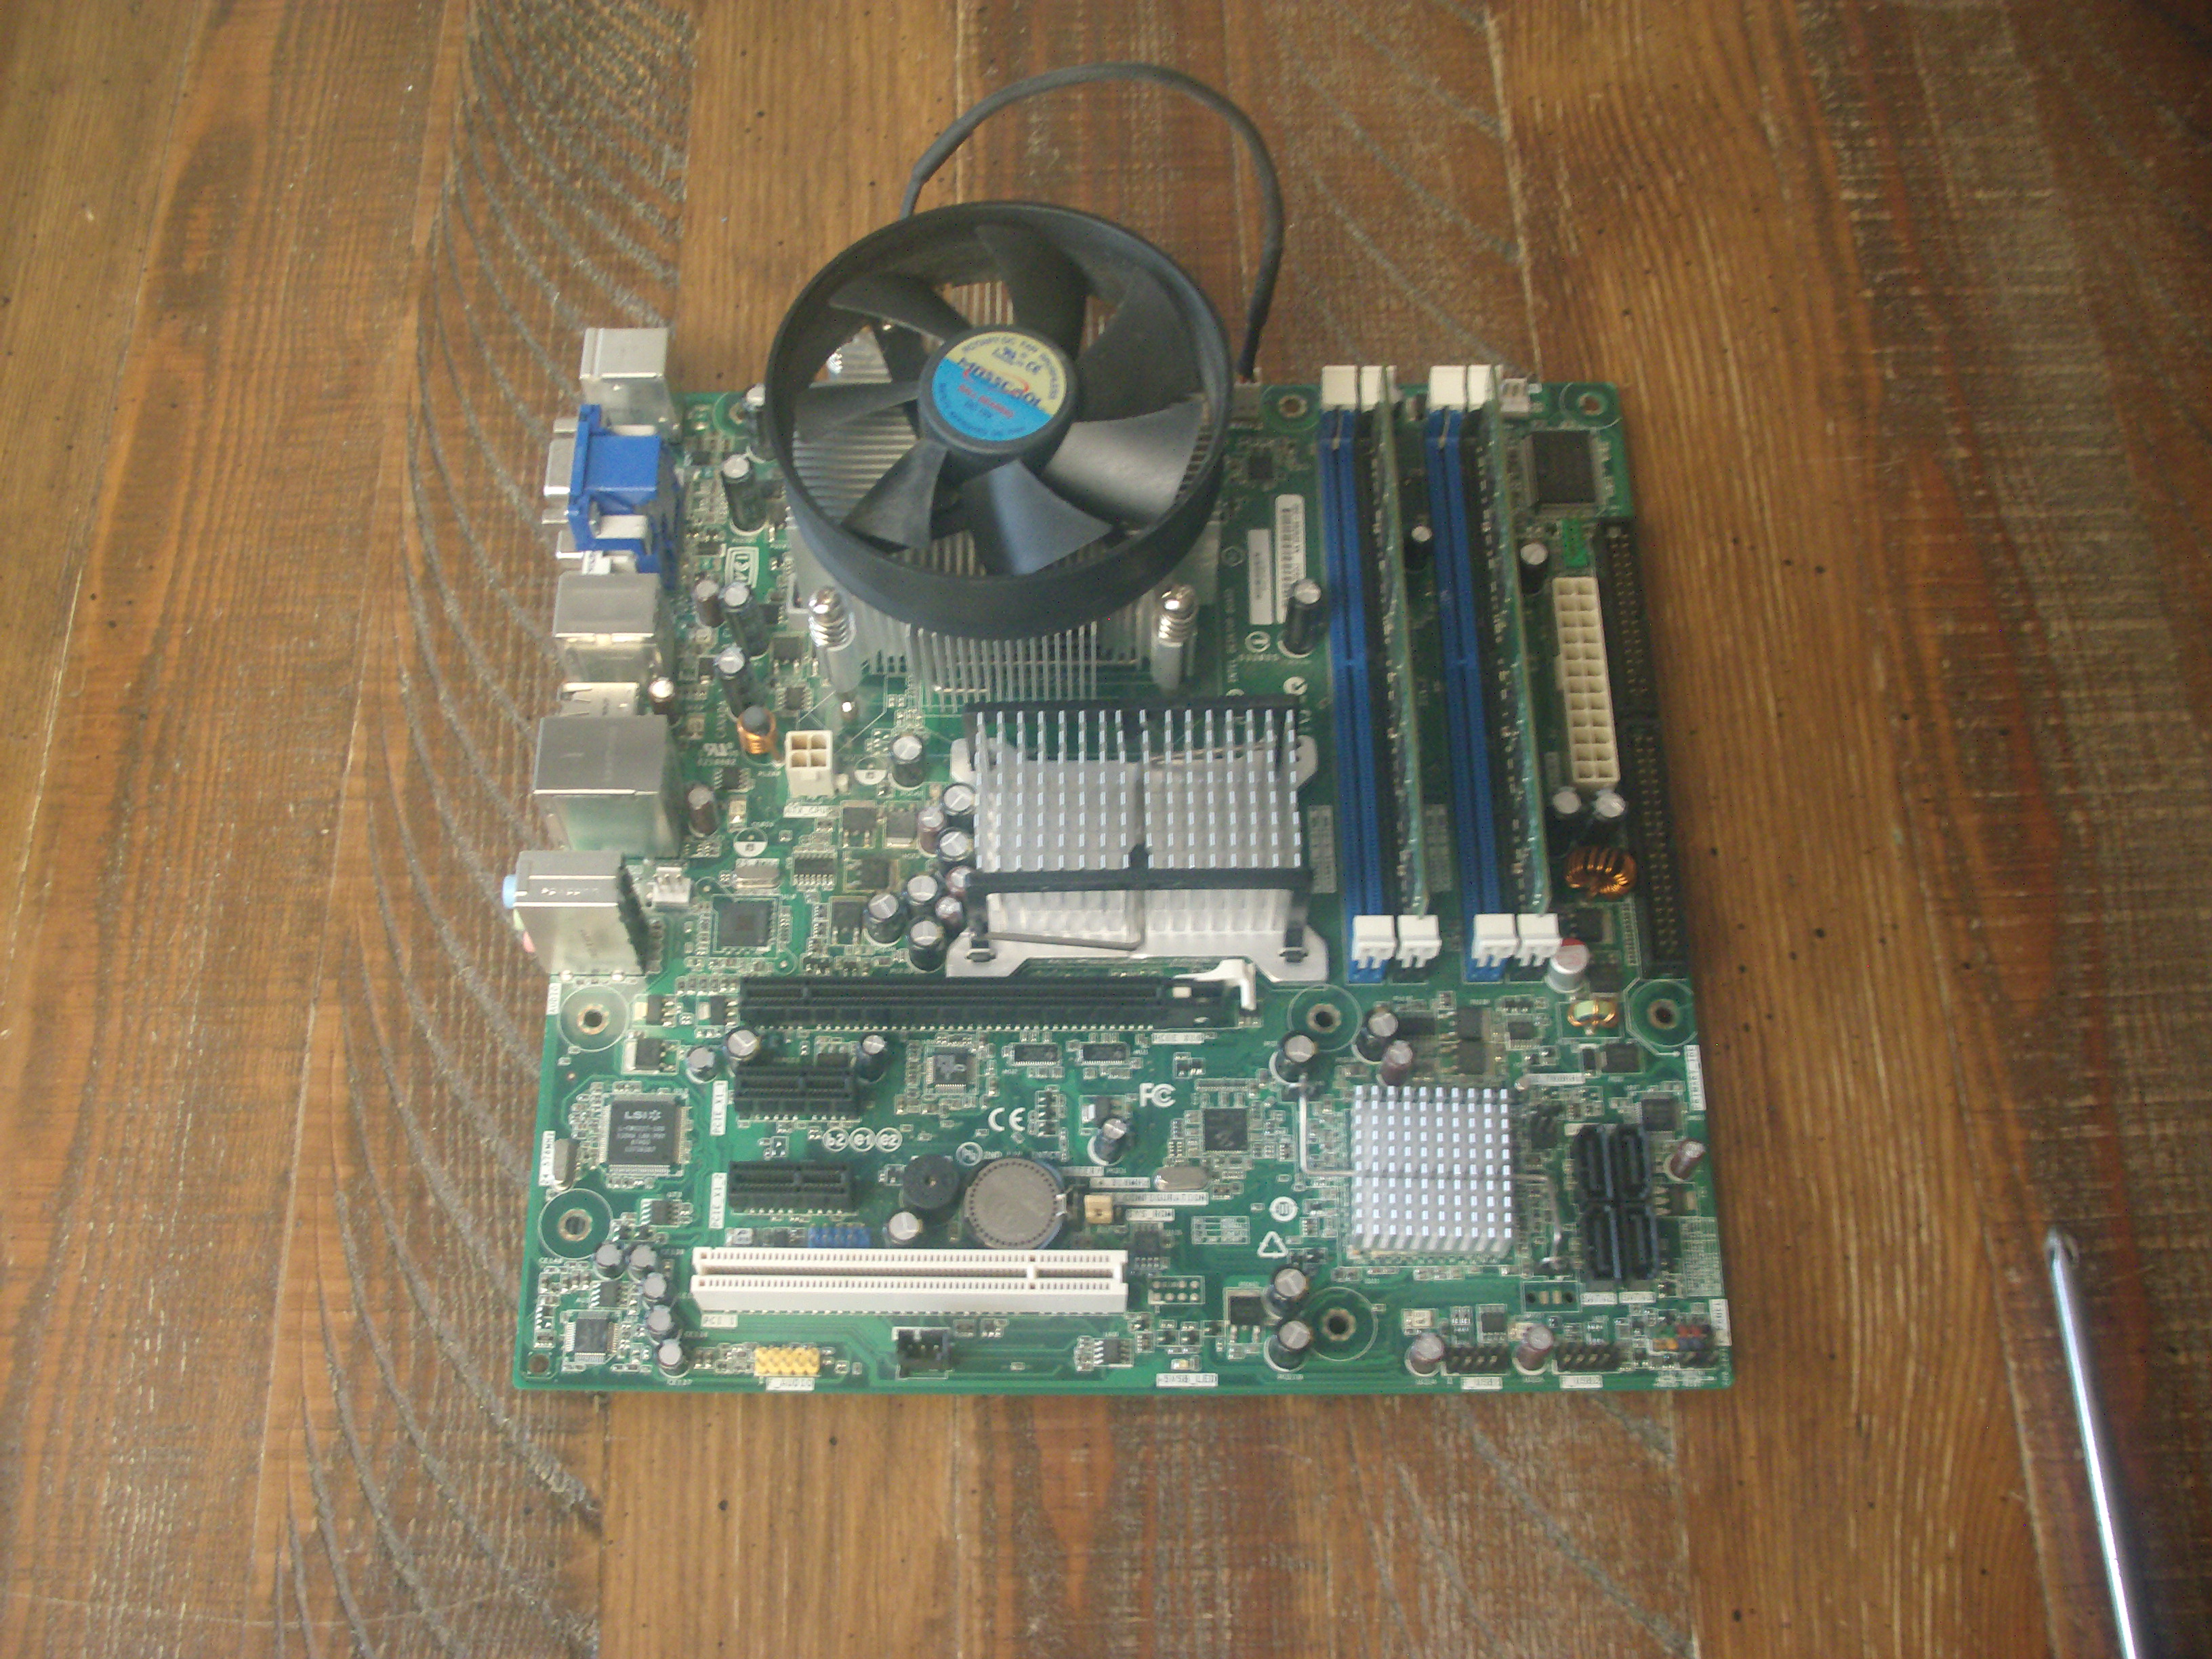
The motherboard in question, an Intel DG35EC.
This motherboard uses socket LGA775, DDR2 RAM, and has a few PCIe 1.0 slots. It still has IDE headers for HDDs and FDDs, but it also has 4 SATA II ports (we will need those and I'll explain why later.) For ports, it has VGA, DVI, PS/2, a few USB 2.0, audio, and Firewire. Yeah, you remember Firewire (also known as IEEE 1394), right? It was actually around from the early 80s but ultimately met its demise on most consumer electronics in 2010. I personally never used it (much like eSATA.)
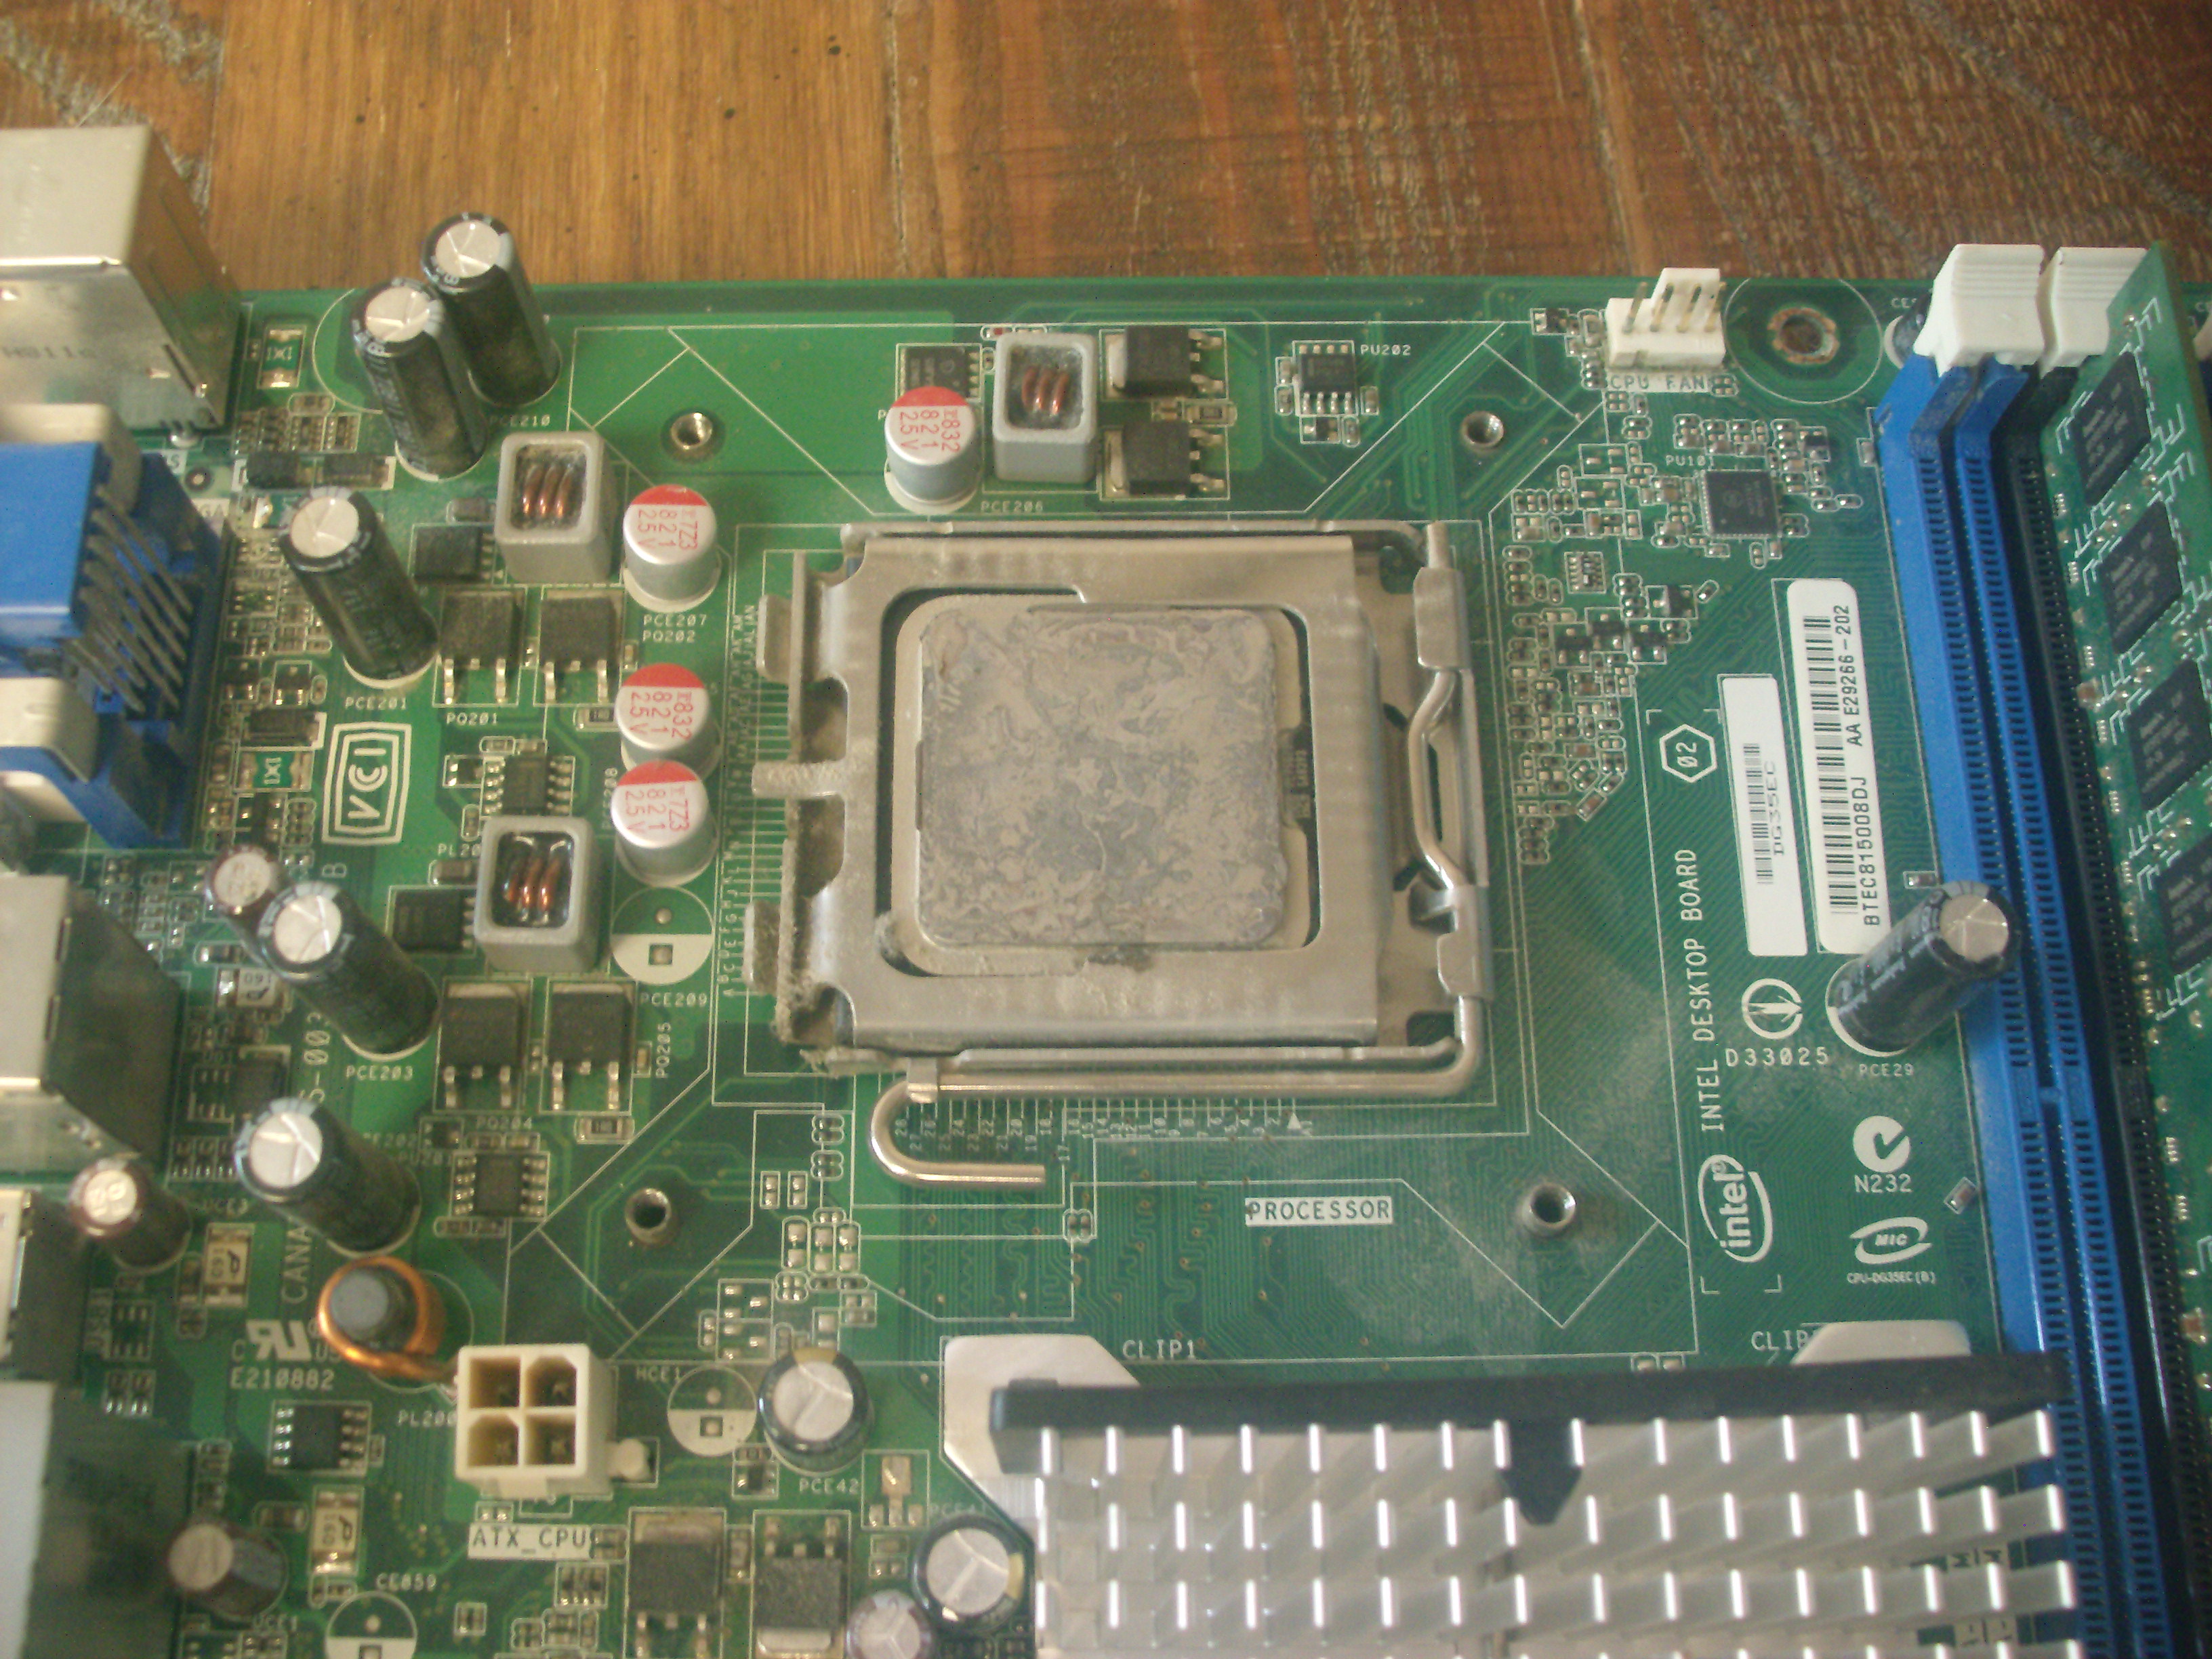
The processor: An Intel Core2 Quad. We'll see it better later.
The processor is an Intel Core2 Quad Q6700 running at 2.66 GHz. Back in 2008, this was one of the best processors you could stuff into an LGA775 socket aside from the QXxxx series (the Q9xxx series came later in 2010, and was still largely compatible with the LGA775 socket.)
First things first. I needed to clean the original thermal paste from the heatsink and processor. This thermal paste has been on the processor for 18 years! Pretty crazy to think about that... I bought this stuff all new back in 2008, built it, and am rebuilding it 18 years later. Here are some before and after pics:
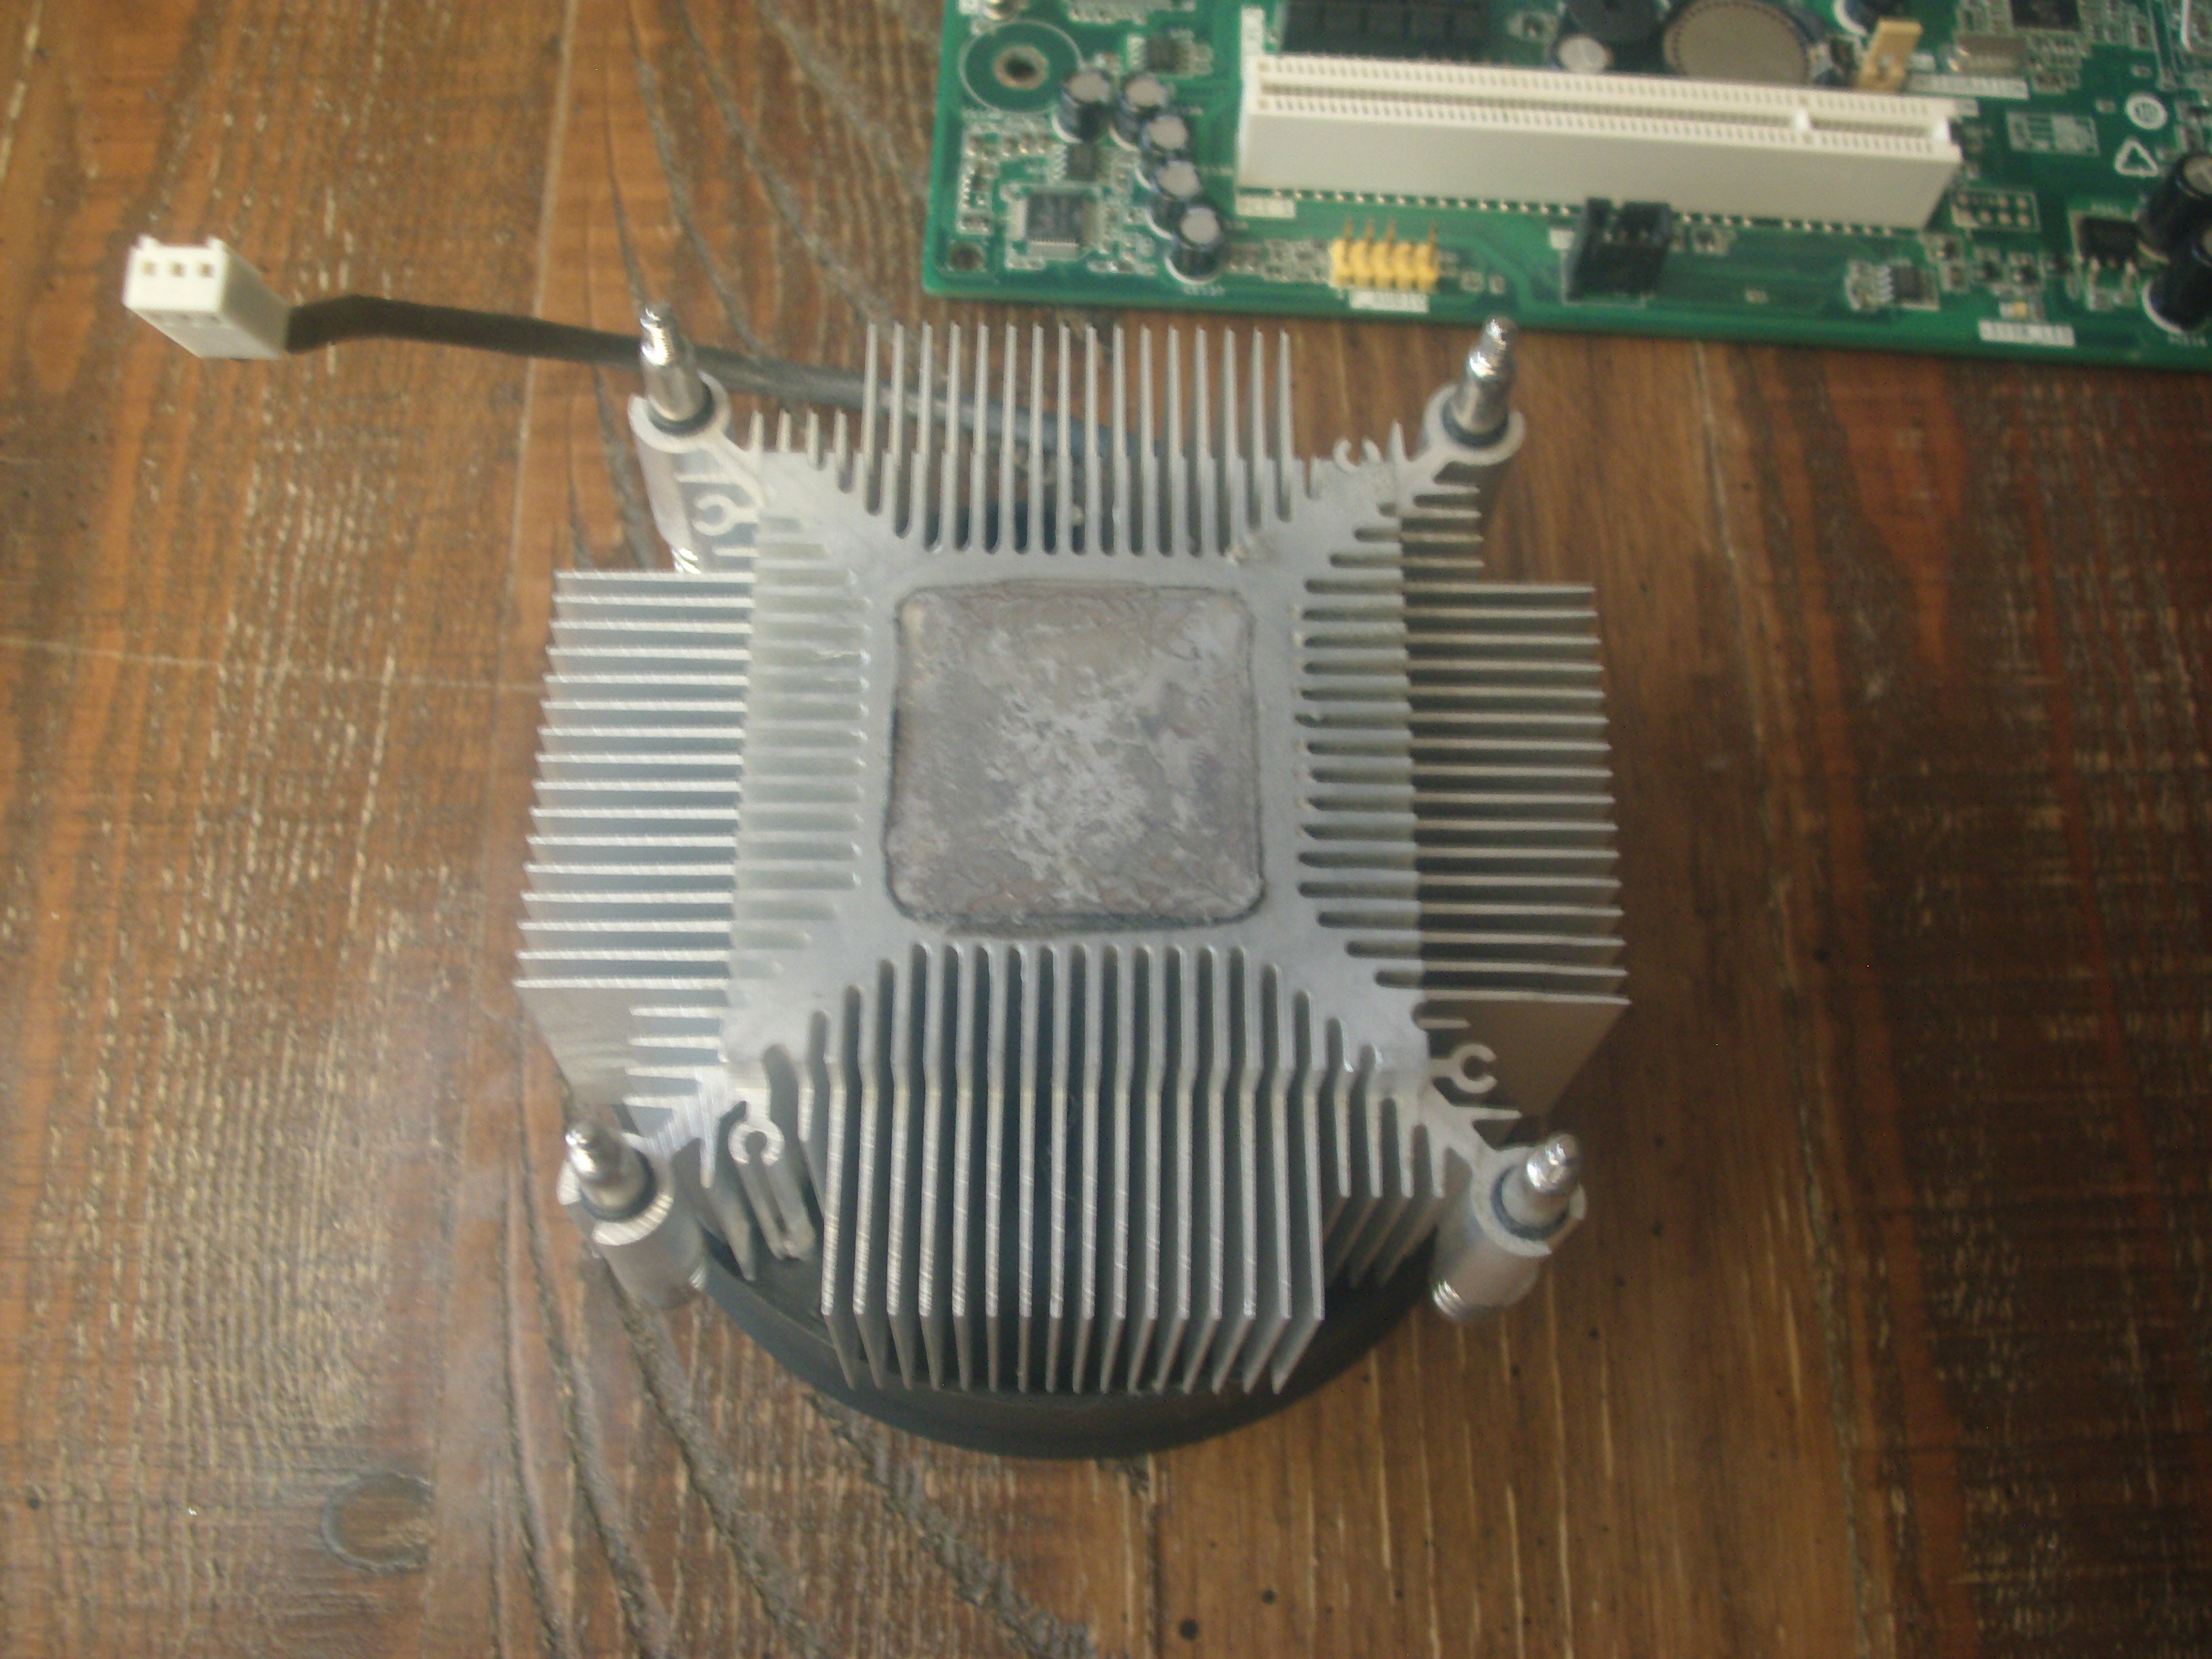
The heatsink before (cue Ernest ewwww sound.)
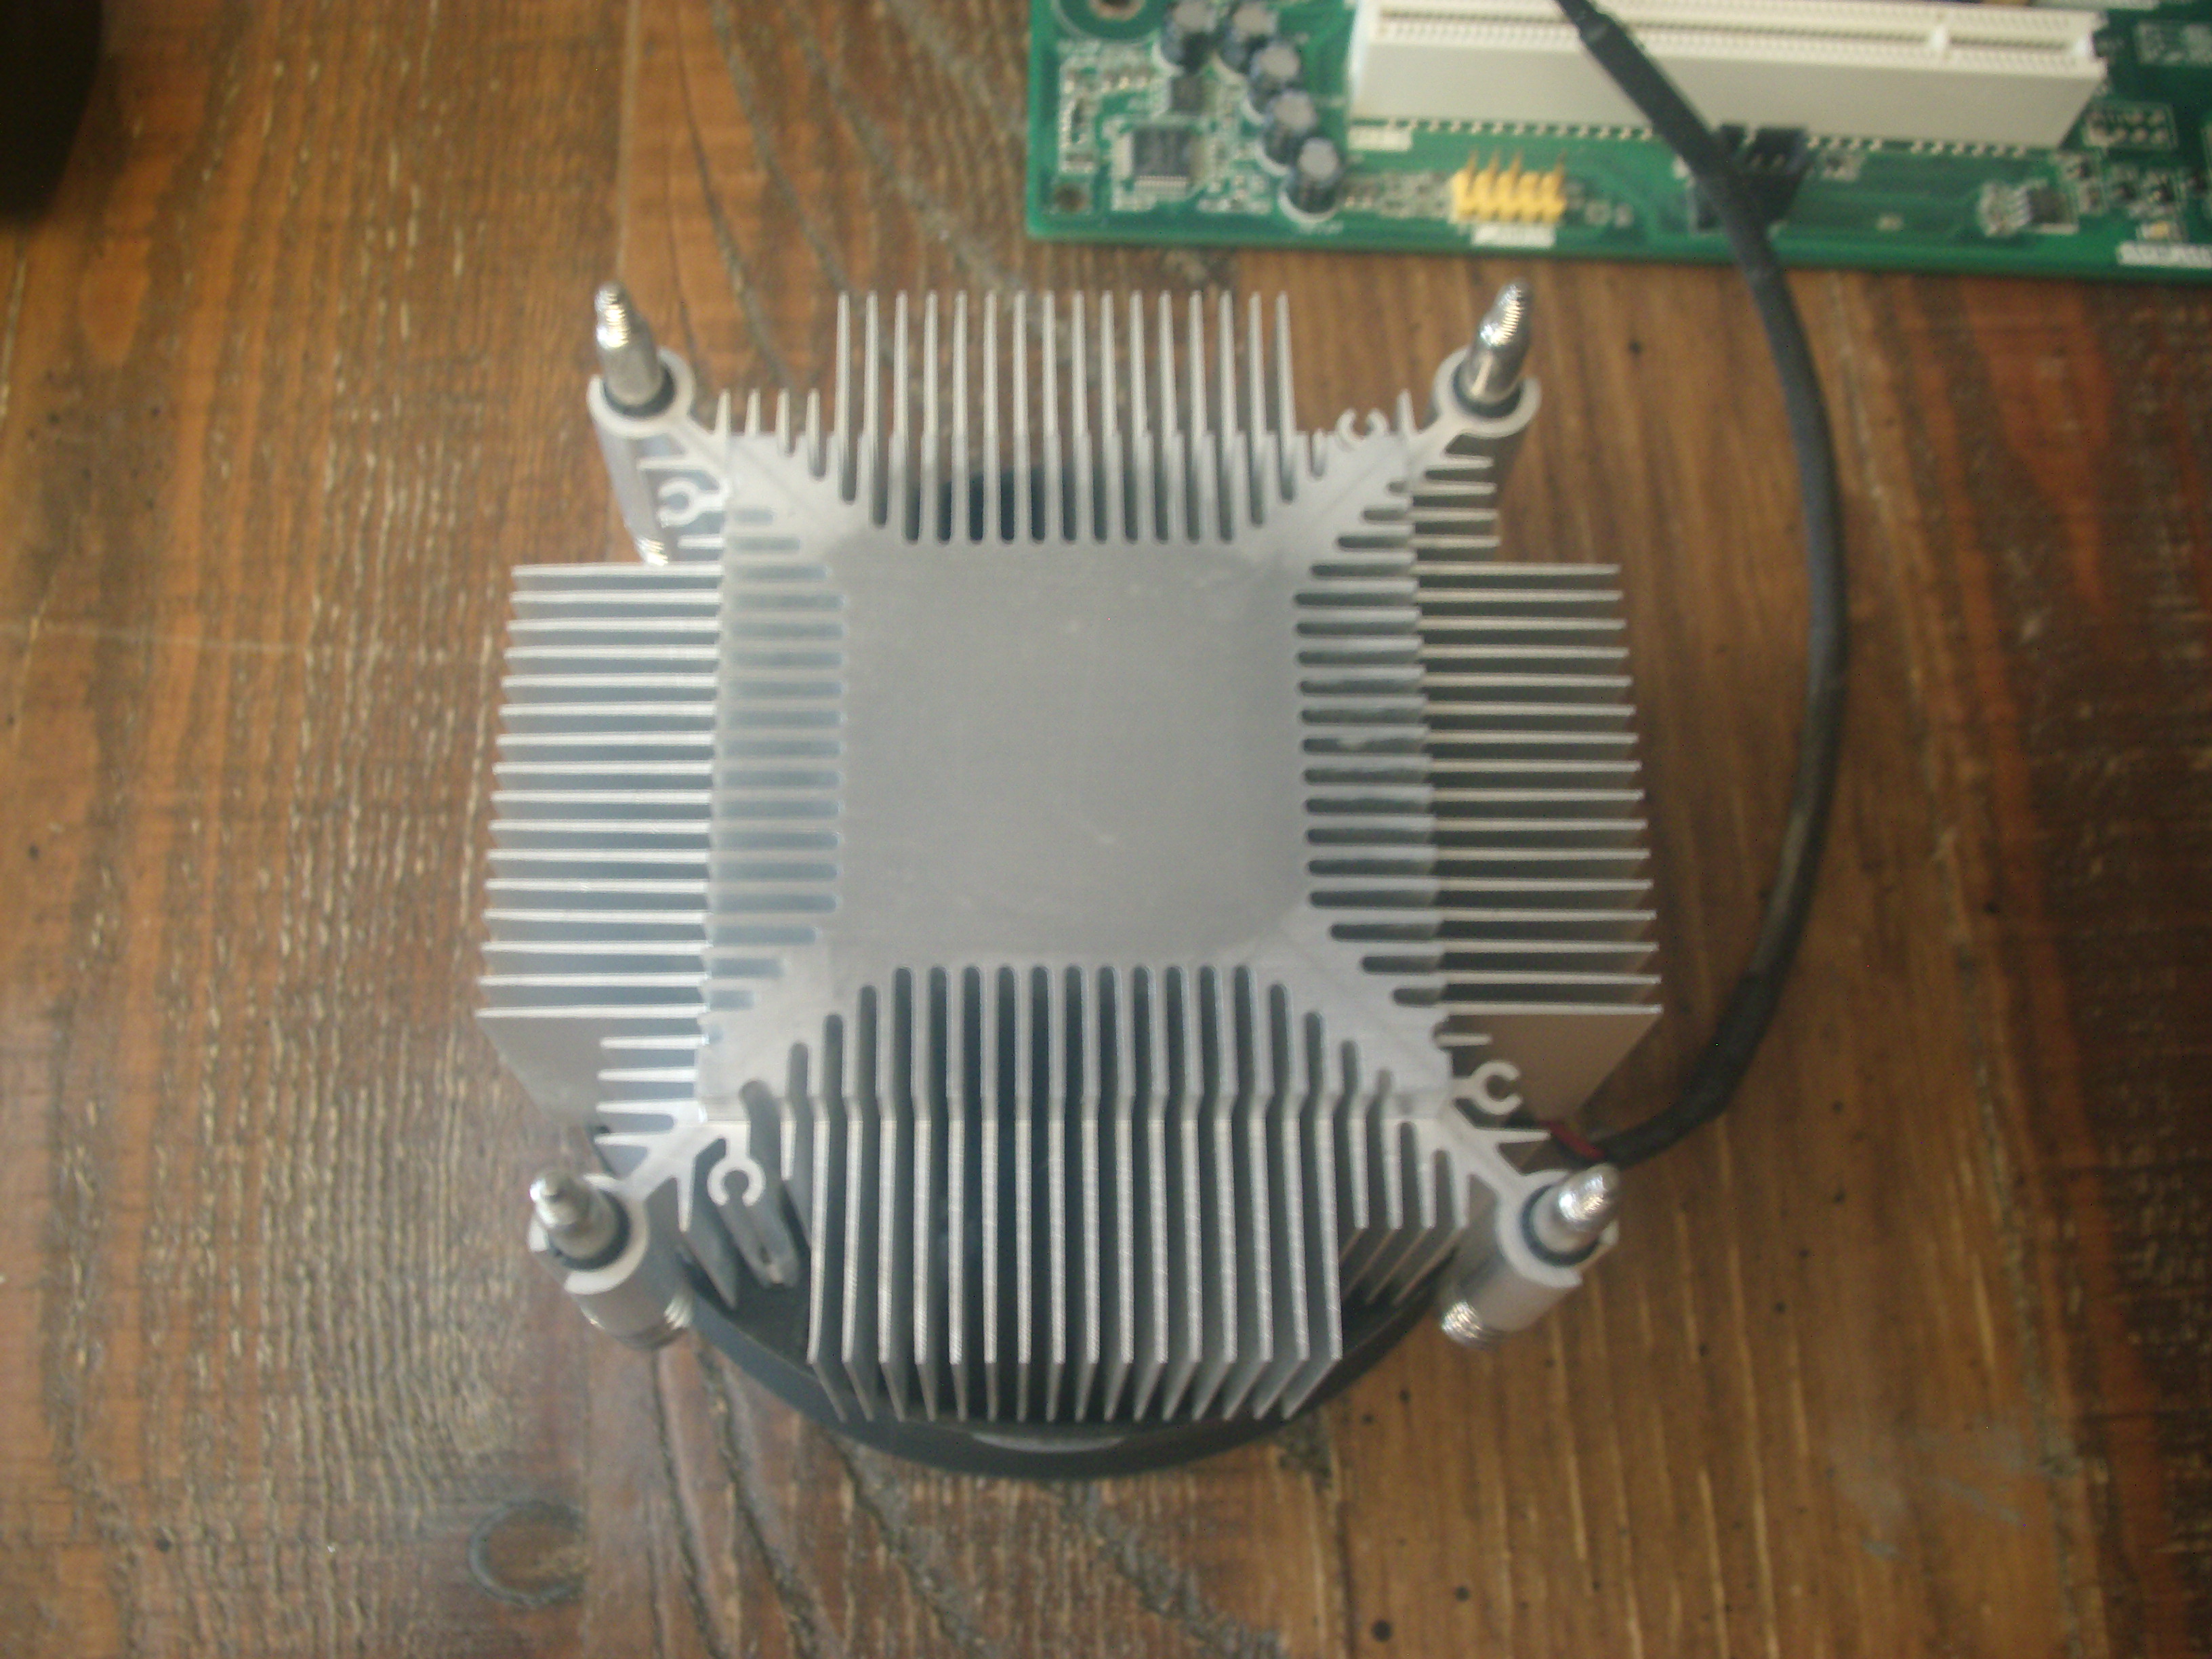
The heatsink after. All clean!
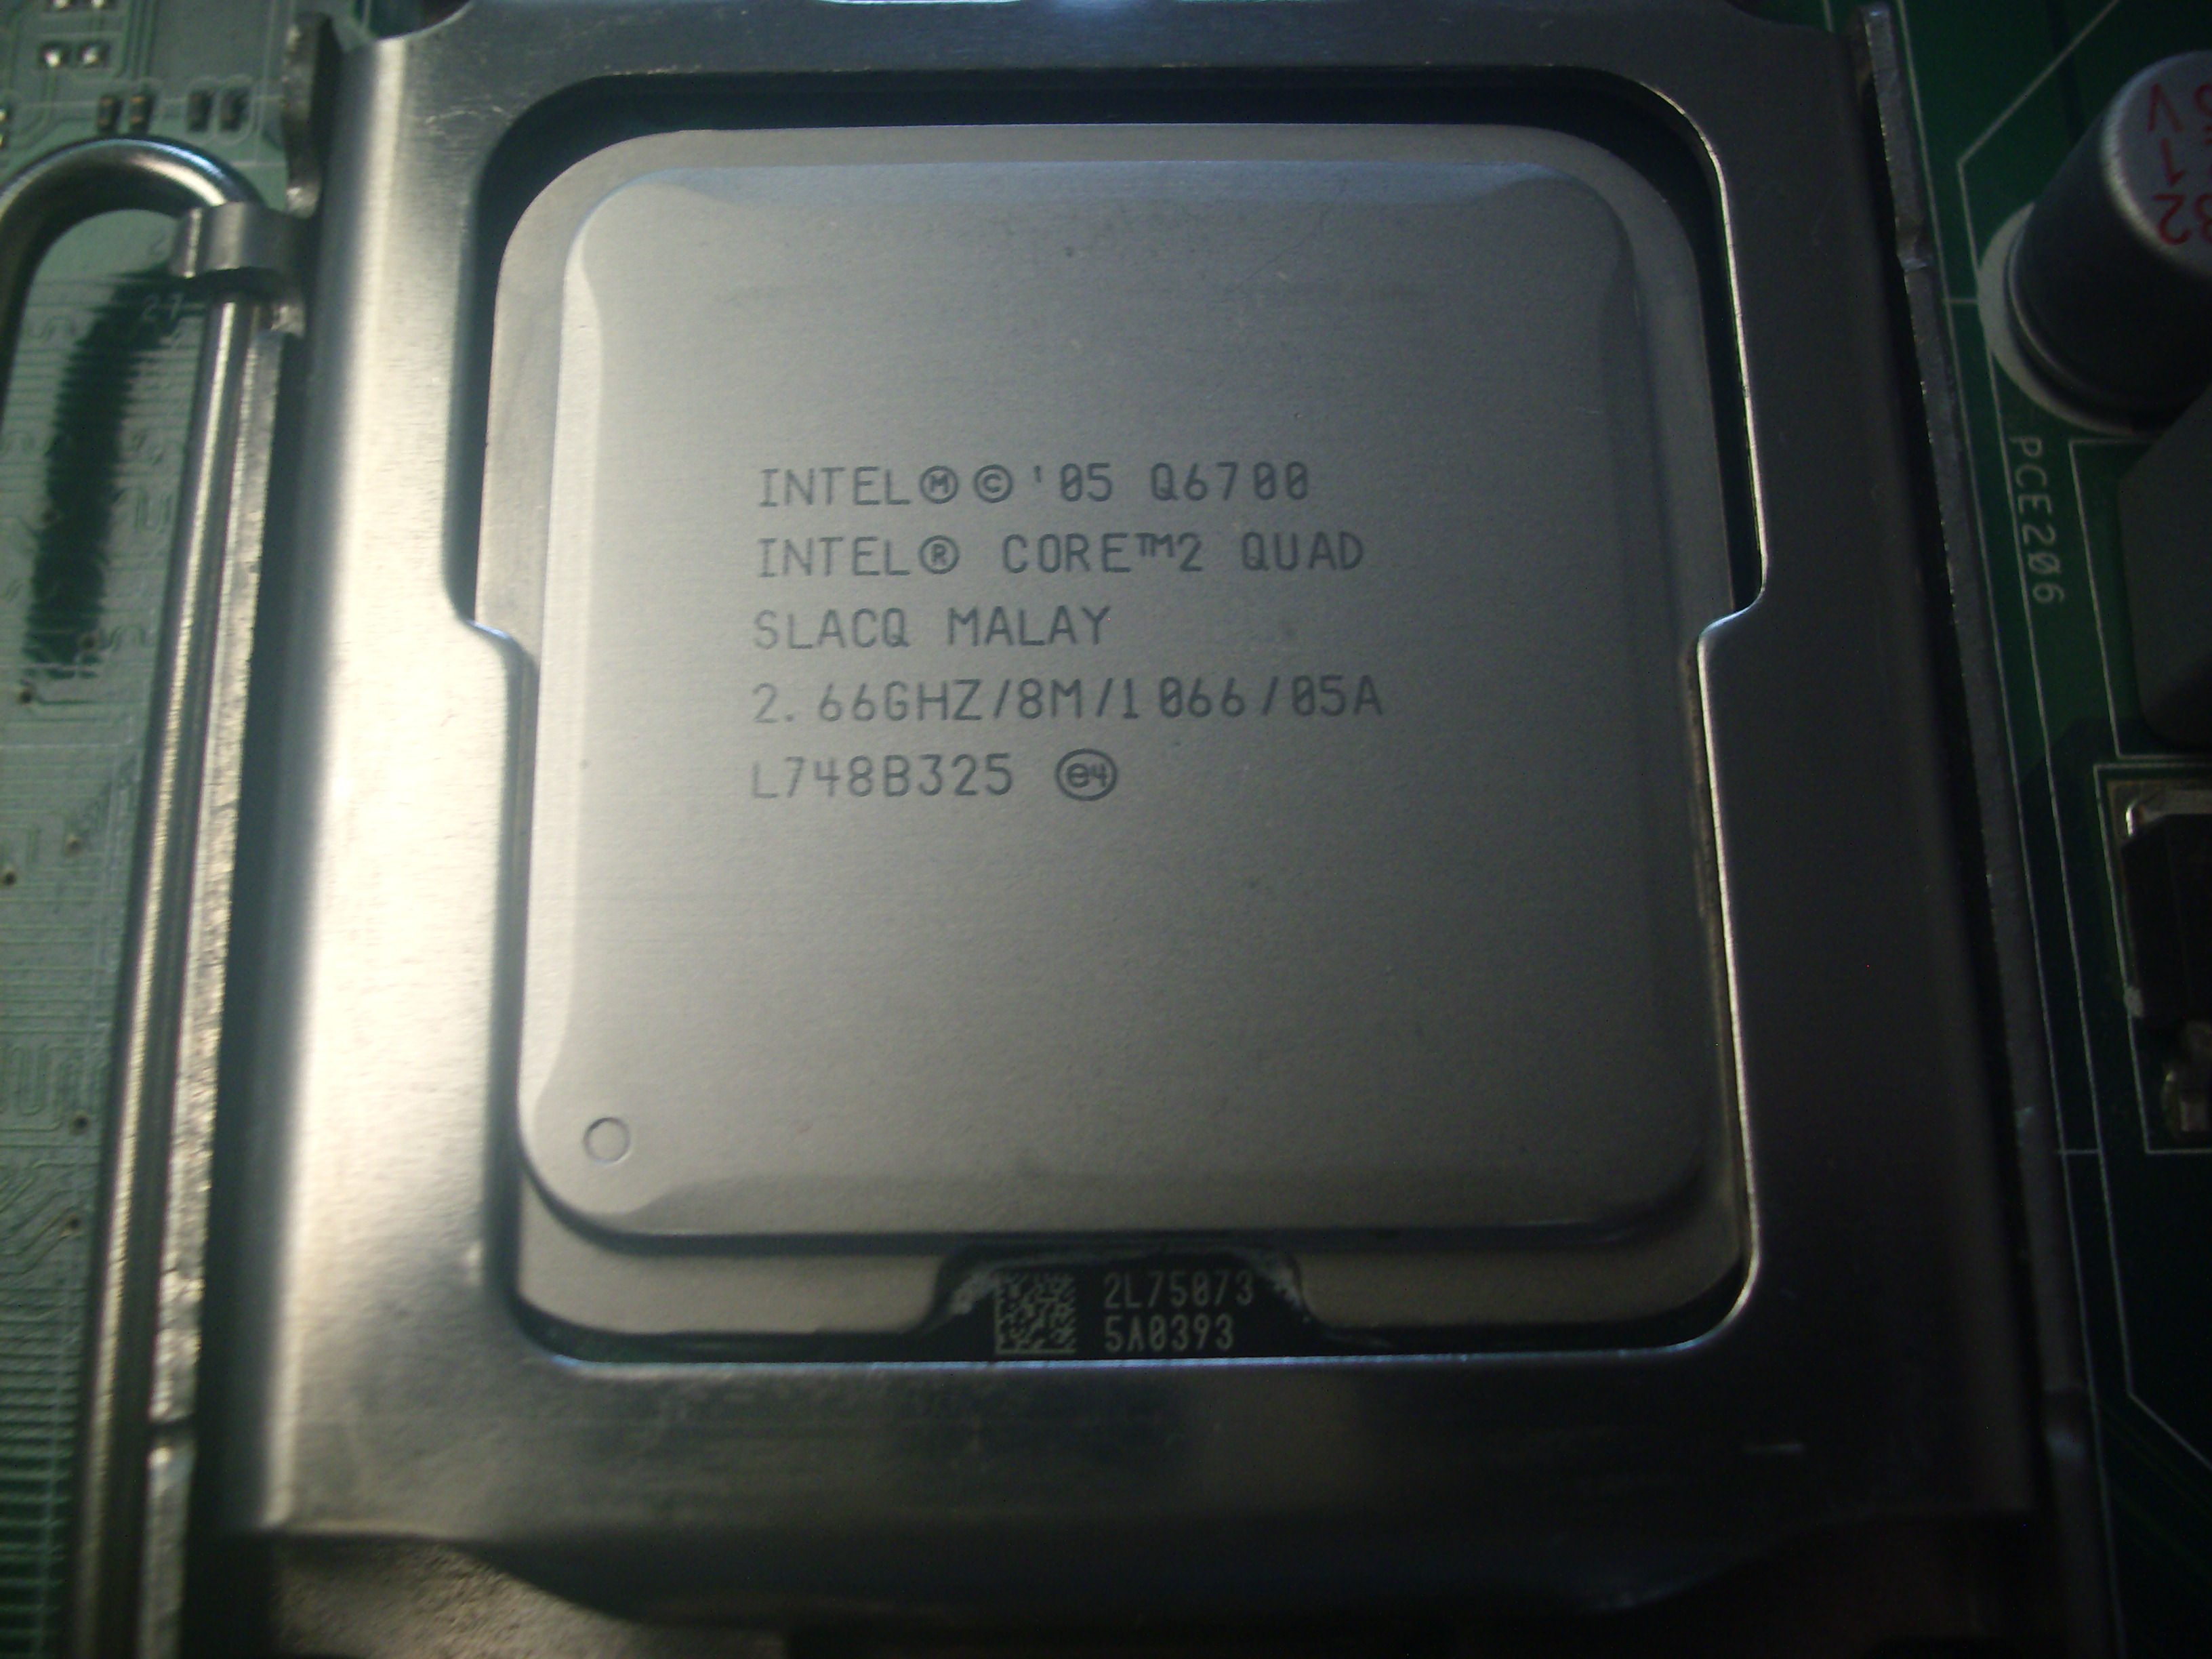
The processor after. Shiny and you can make out the writing now!
When I clean off thermal compound, I typically use a microfiber towel and some IPA (Isopropyl Alcohol.) It does a good job of breaking down the compound so it can be wiped off and leaves the surface clean and dry.
Once both mating surfaces were cleaned, I applied new thermal compound. Normally I'd use thermal compound from your typically little syringe. However, I was out of that stuff. Then I remembered I had some in a little jar from when I was working on class A and A/B amplifiers and needed it for the transistor heatsinks. So I snagged some of that and stuck a dollop on there.
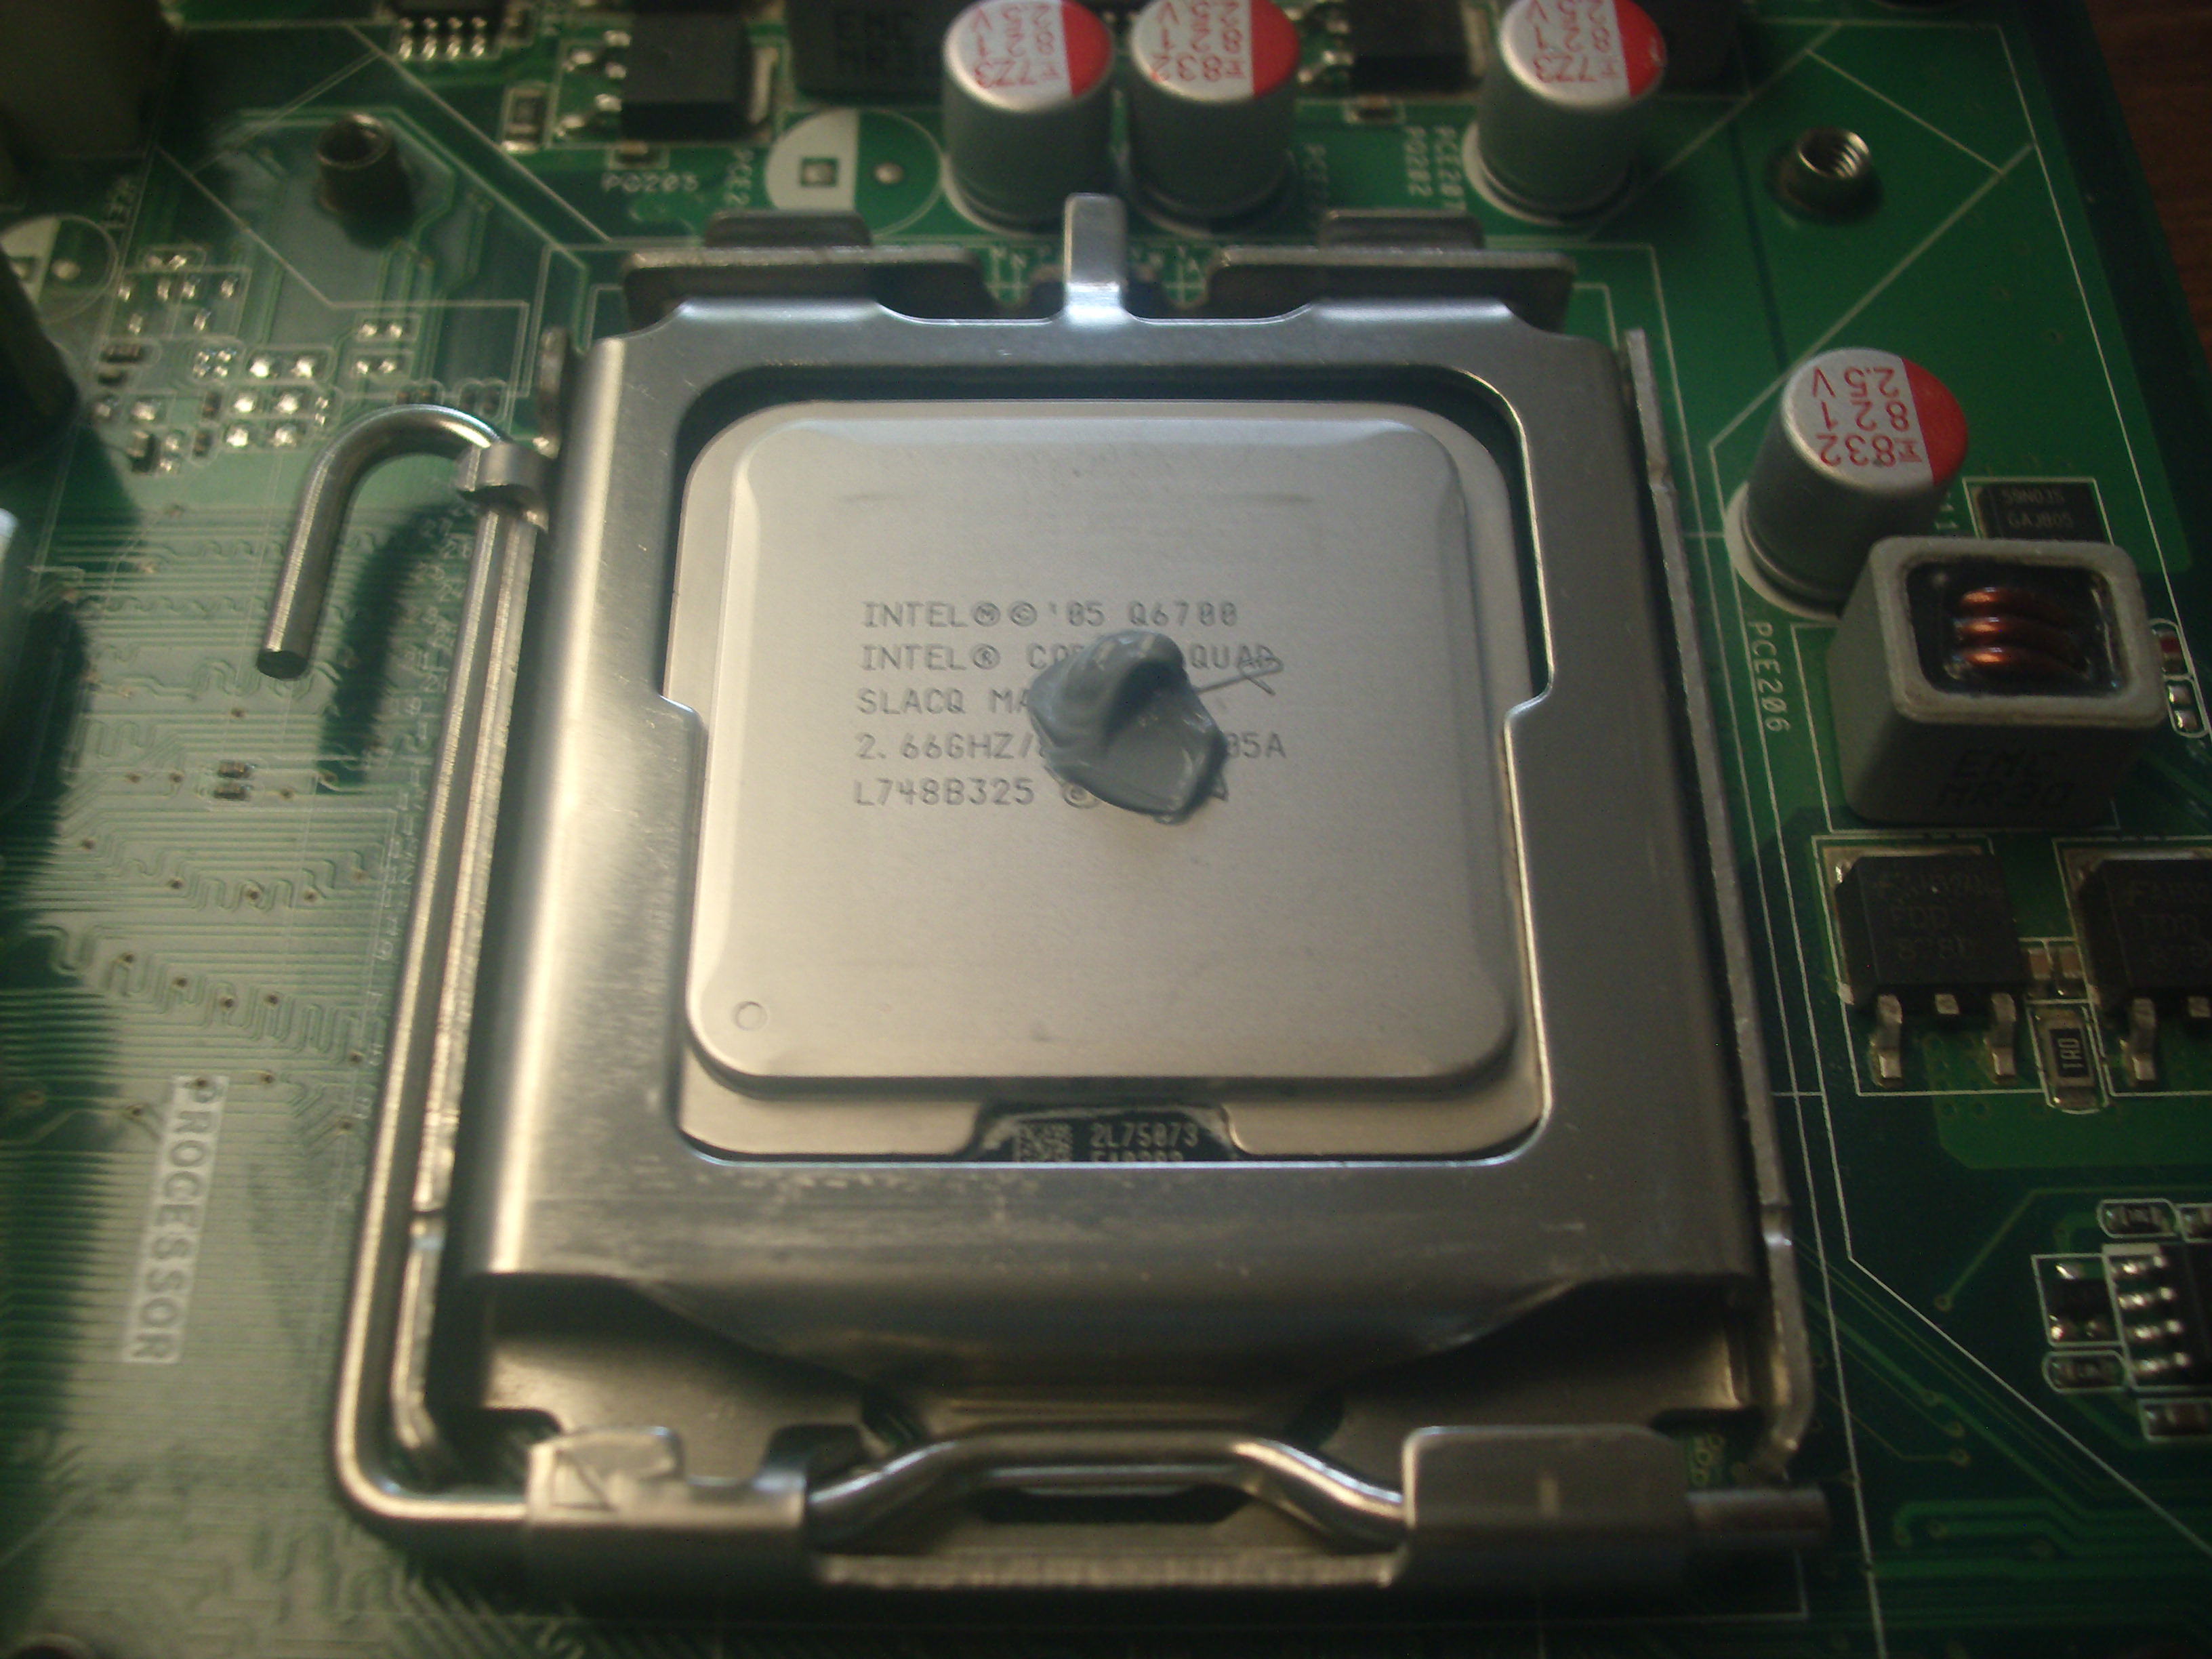
Just a dollop of Dai- I mean, thermal compound (warning, it's not good on tacos.)
Everyone has their own way to apply thermal compound but I've always done it this way. I find that a pea sized dollop right in the middle of the processor will spread out nice and evenly across the surface when the heat sink is screwed down. Using a pea size dollop is critical to prevent too little being used, or too much which will ooze out over the size of the processor like a bad PB&J sandwich (or a good one, if you like that.)
Also, I just noticed there's a QR code on the processor... That surprised me. I thought for sure this thing would have largely predated QR codes...All that was left to do was to secure the heat sink to the board and hook it all up for a bench test! (I'm working on my table because my bench is absolutely covered in other crap!)
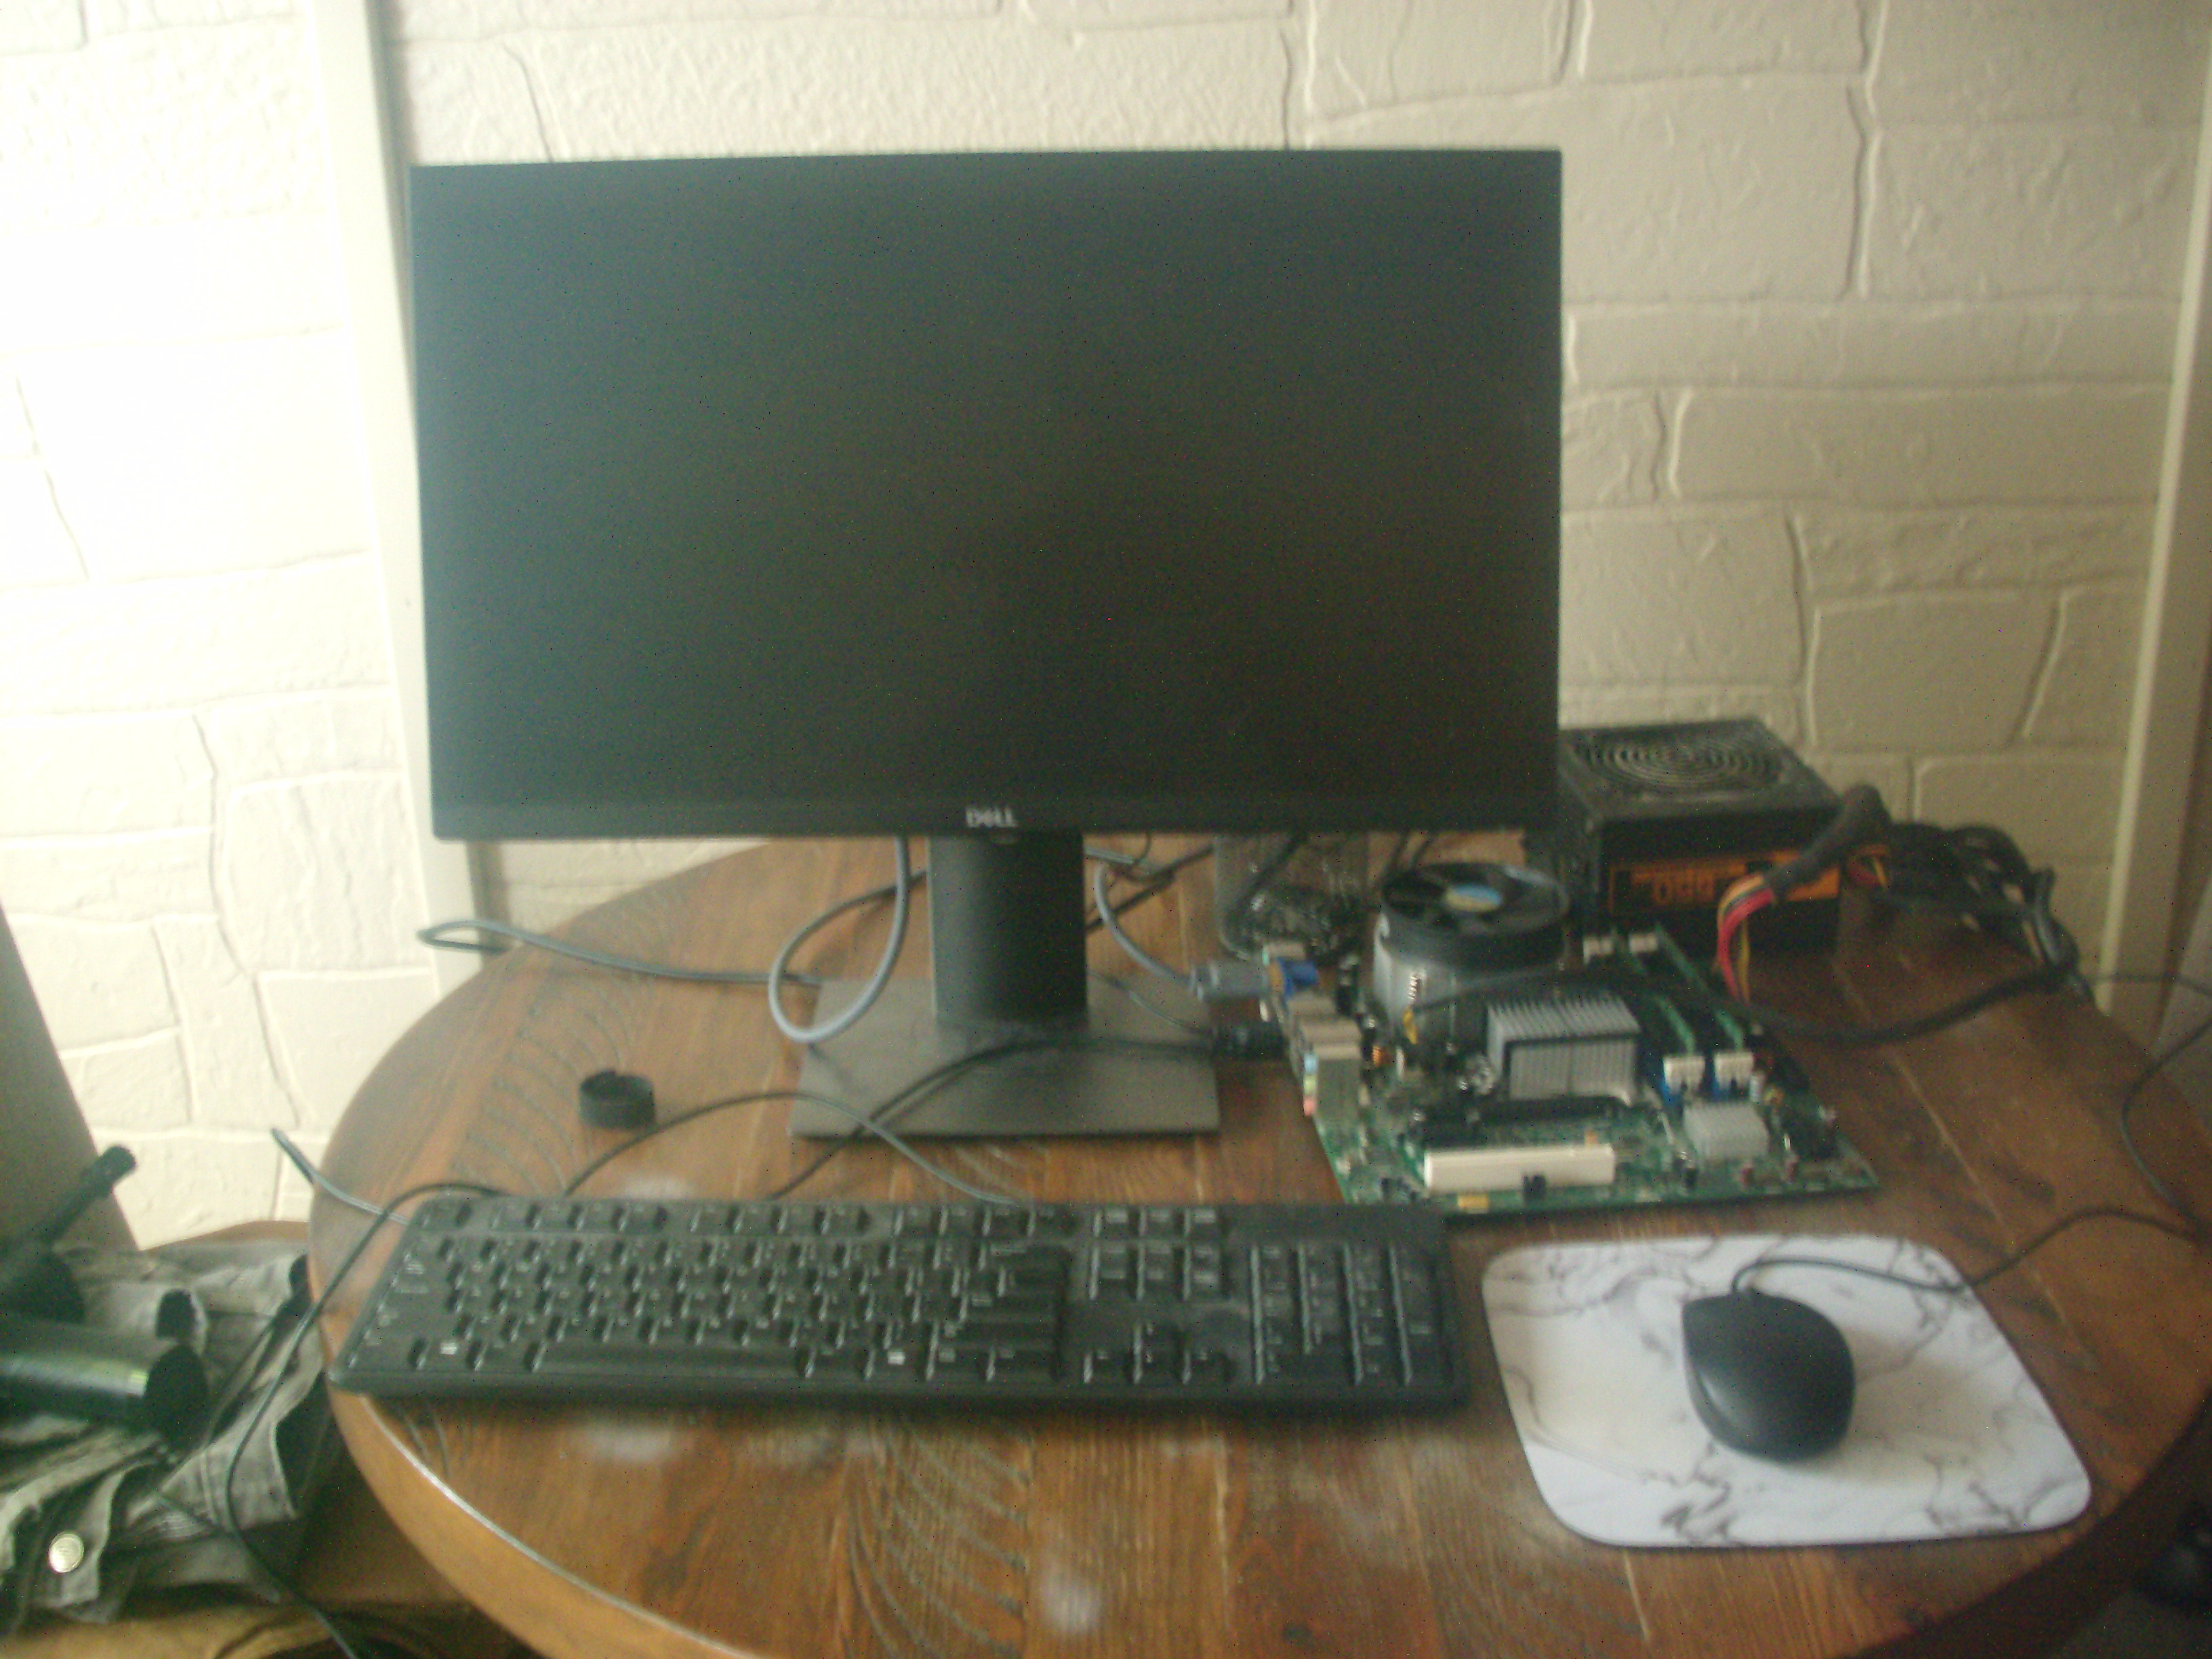
Bench testing the CPU / RAM / Motherboard combo.
I connected it to a simple 1080 monitor, USB keyboard and mouse, and the original 550W Corsair VX550W PSU I bought with the board to build the original gaming rig. Time to fire it up!
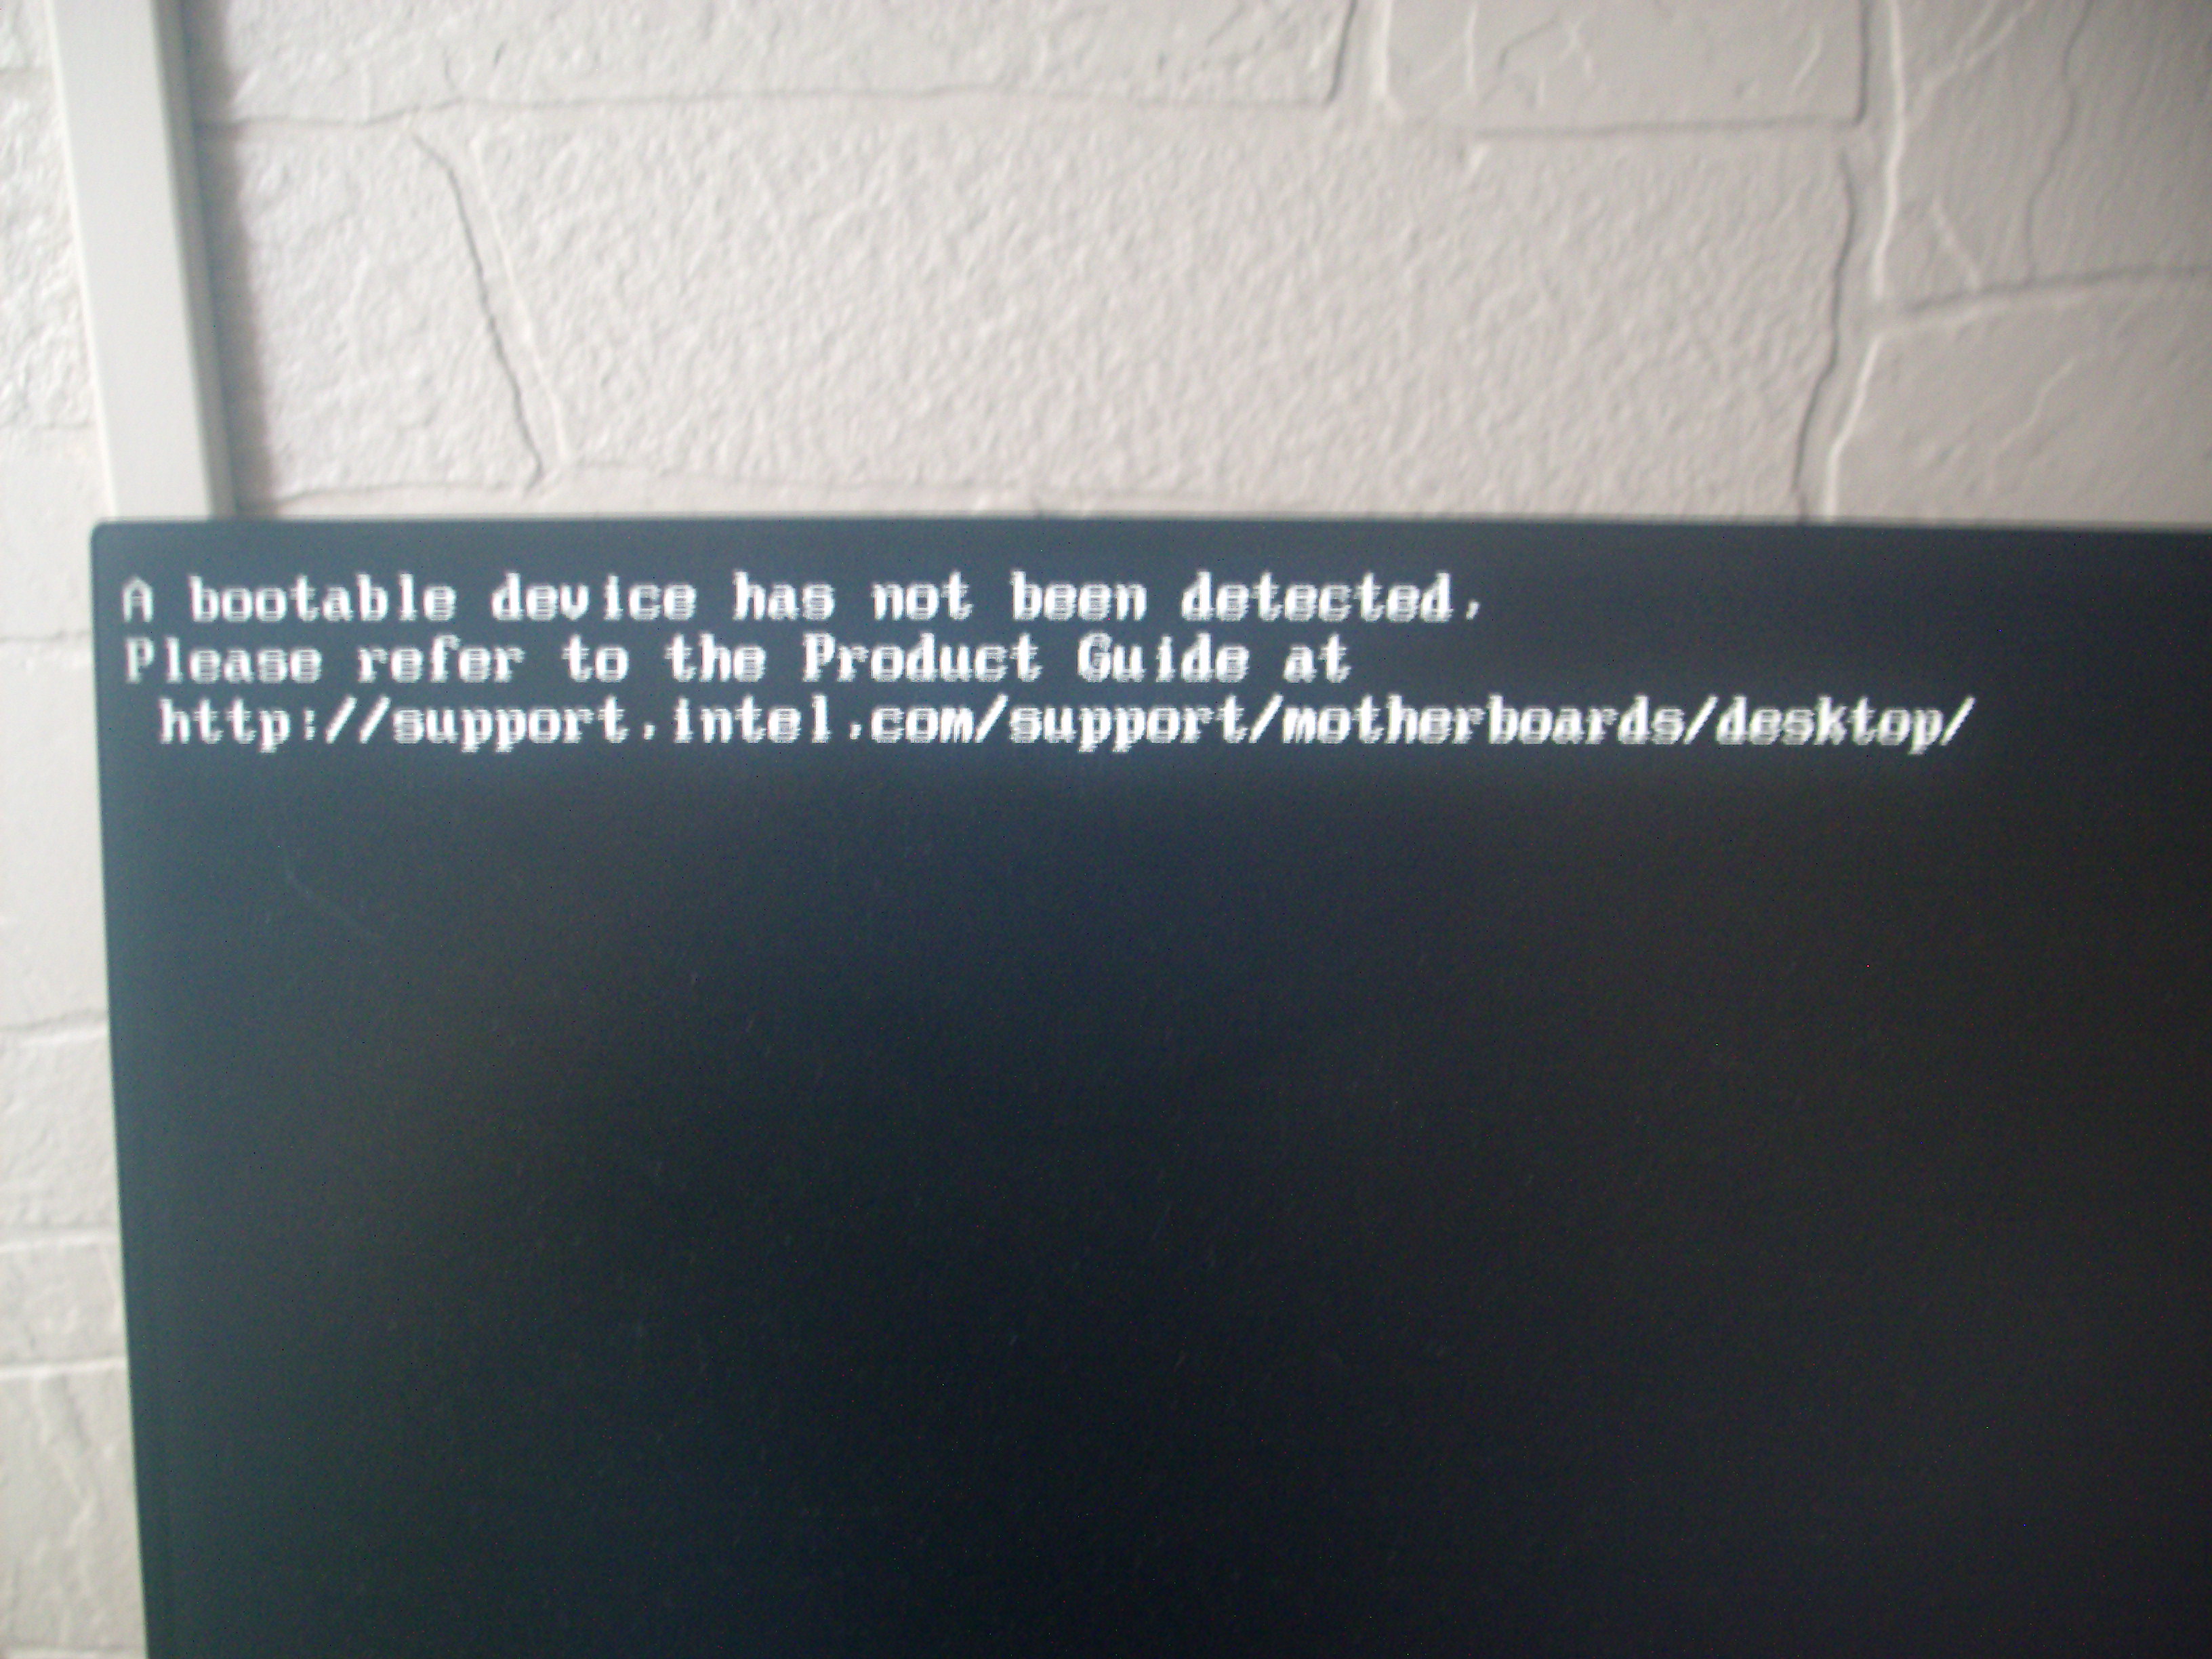
It works! (sorry for the blurry image. Old digital camera and all.)
It booted up just fine and, as expected, showed me a "no bootable devices found." Well yeah, there are no drives connected to it. But that's fine. That's expected. I next pulled a drive from another machine which had Arch Linux installed on it and plugged that in just to ensure it could find a bootable device.
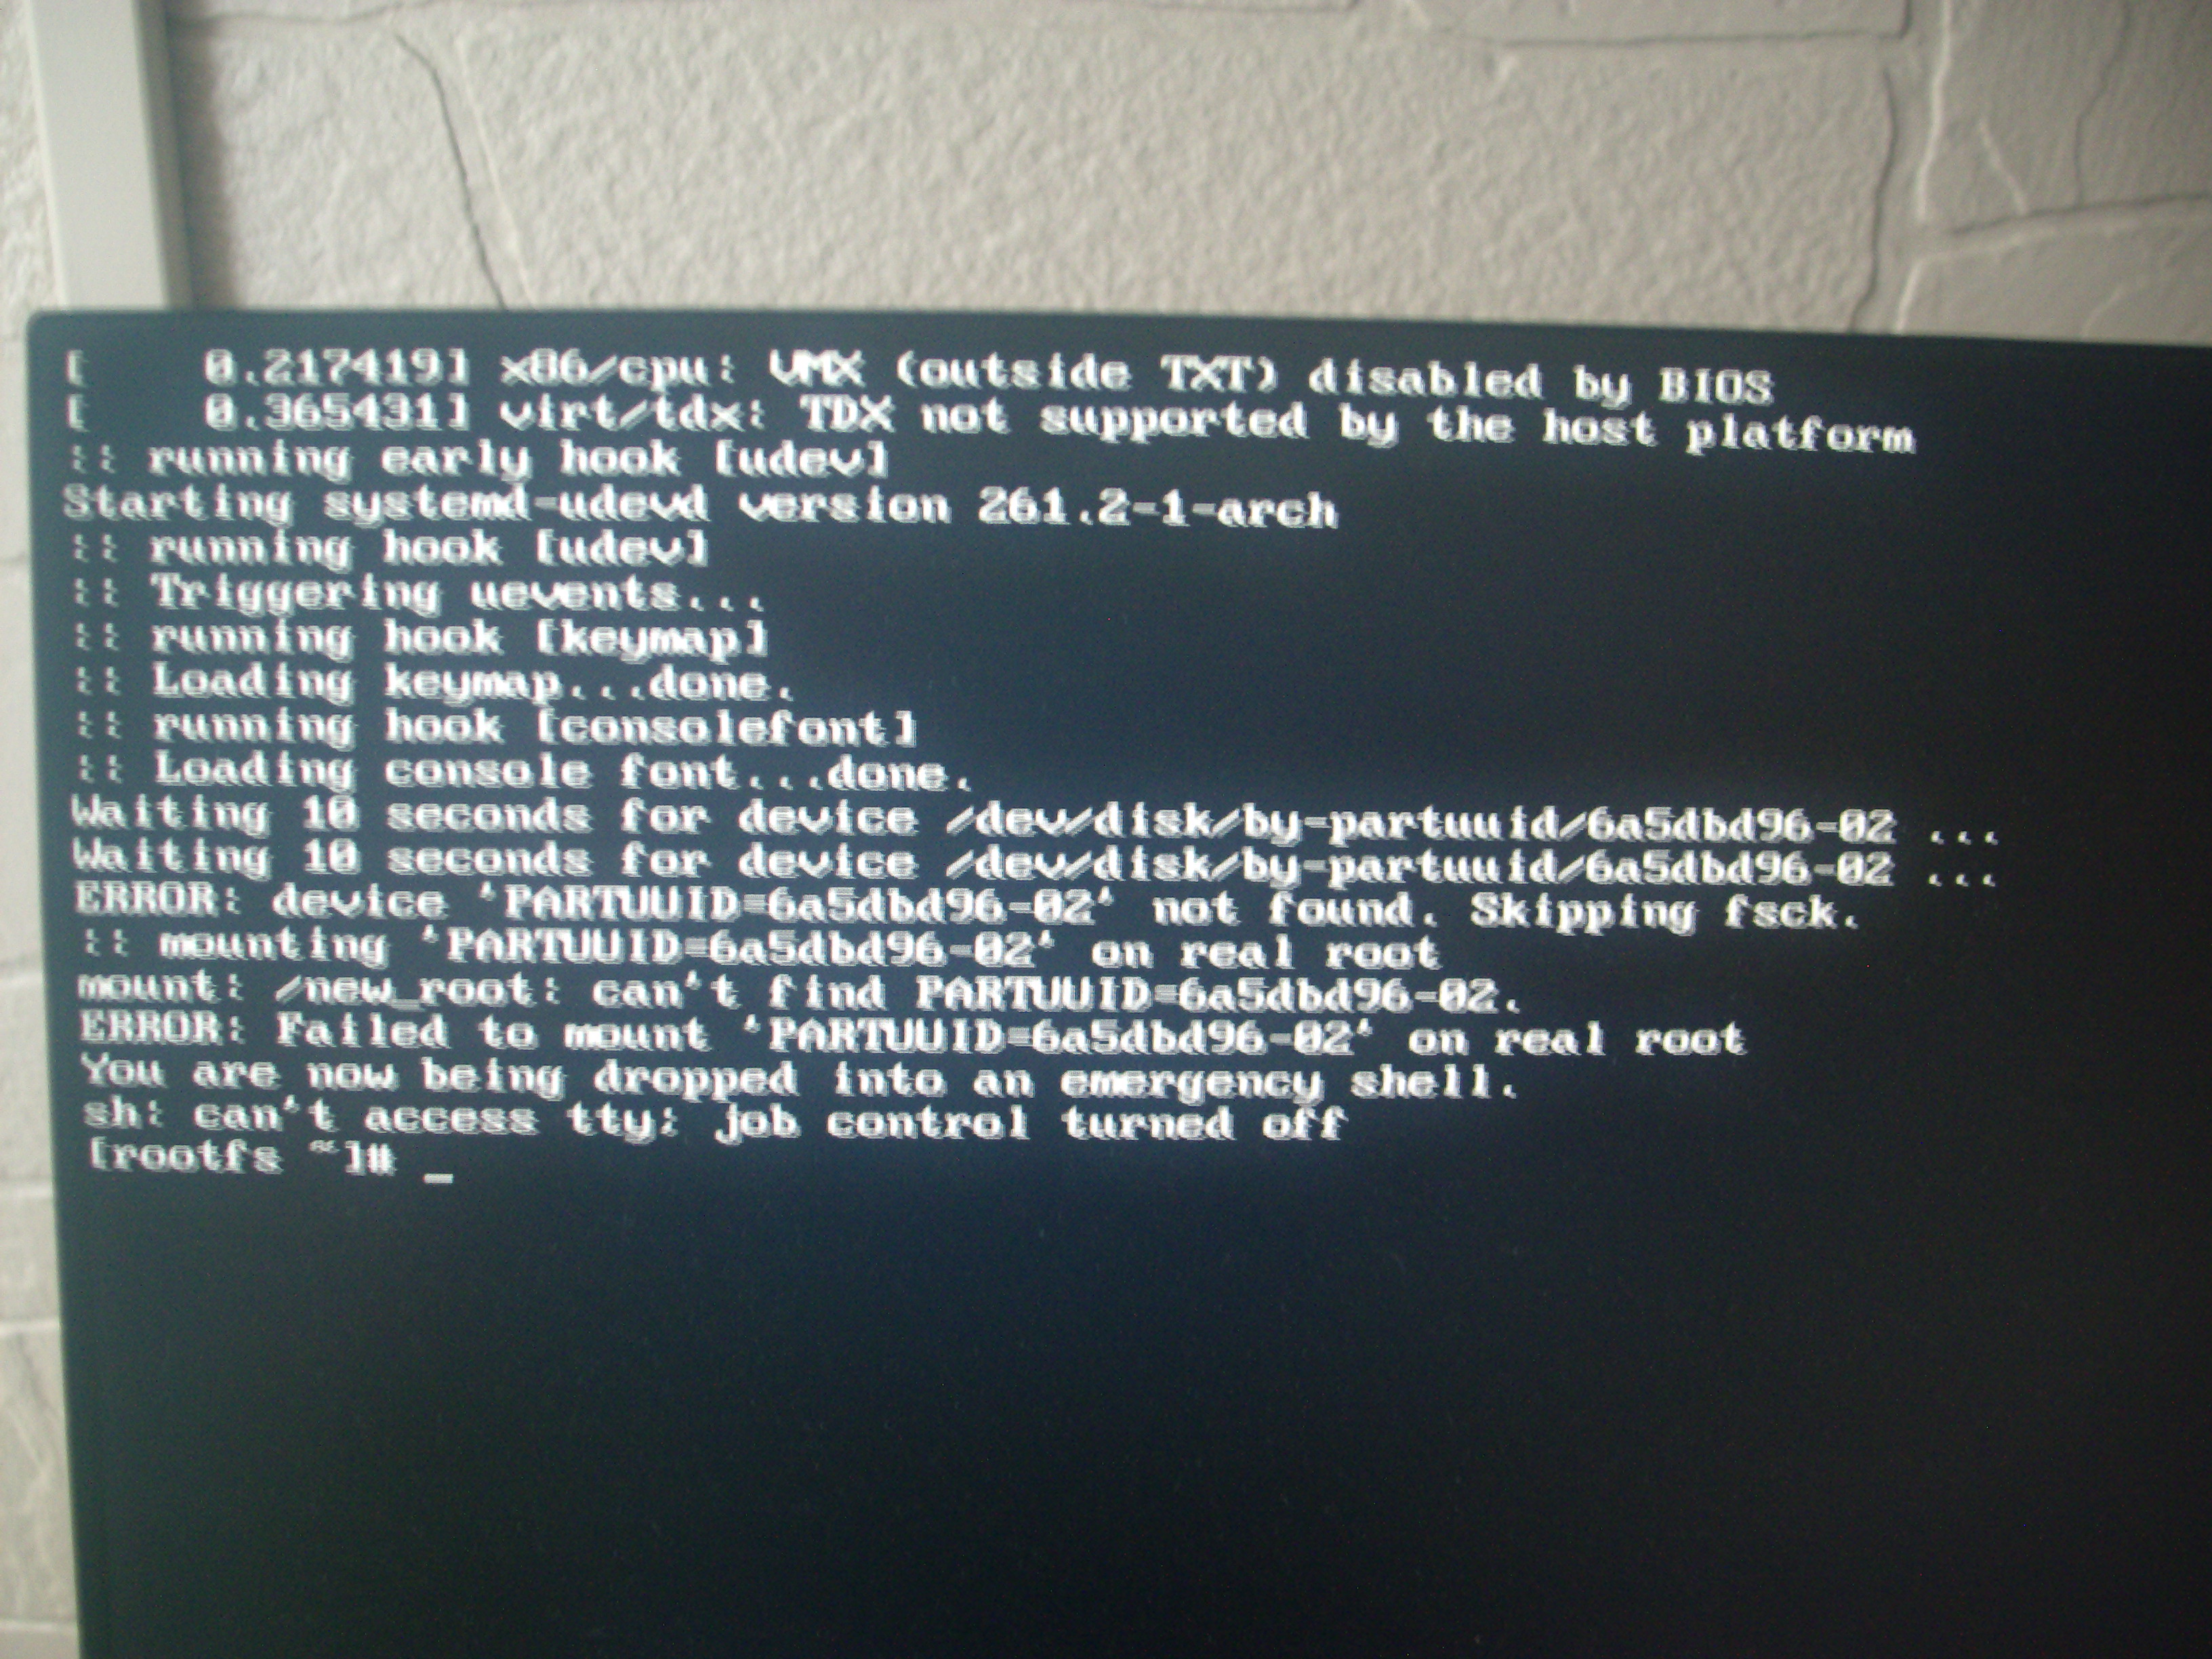
This worked too! Well, except it doesn't fully boot.
Success! Except for the fact that it couldn't mount the partition(s) expected by fstab or something. I read up on this a little bit and found it was due to the initramfs being configured for the PC from which I pulled the drive. I'm not too worried about it, though, as I intend to use a different drive and install Arch on that and try out suckless' dwm. I only wanted to ensure it could boot to something.
Well that pretty much wraps up what I've gotten done on Part 1. Next time we'll do some RAM and CPU tests on it to ensure the RAM is good and the CPU stays cool. Then we'll try to find a suitable HDD to install Arch on and make sure that works!